
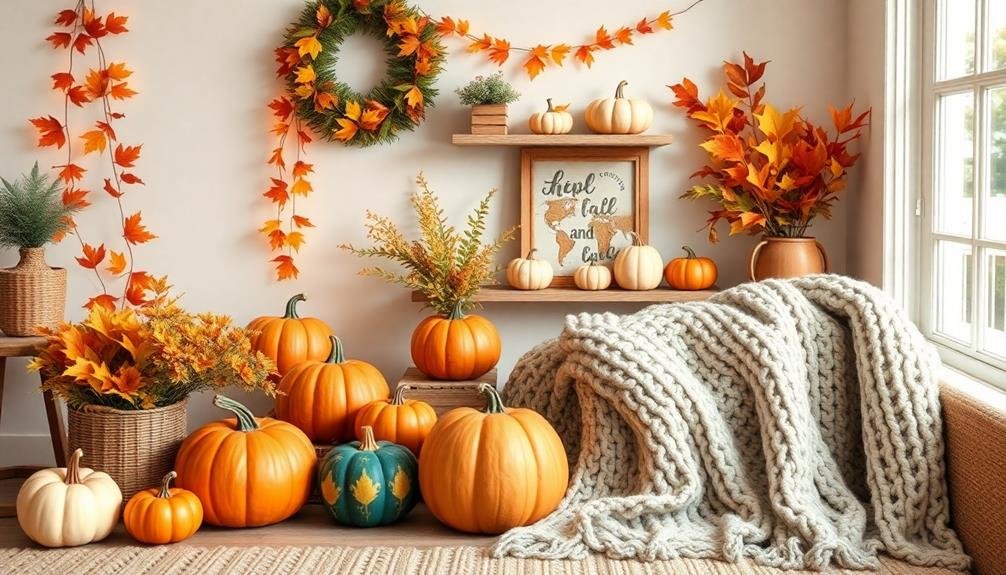
Fall is the perfect time to spruce up your space with DIY home decor. Start by gathering basic crafting supplies like a hot glue gun, scissors, and autumn-themed items. You can create an array of projects such as cozy knitted blankets, rustic wreaths, pumpkin centerpieces, and even fall scented candles. Thematic decor like autumn leaf garlands and fall-inspired wall art can also add a personal touch to your living area. With a little planning, patience, and creativity, you can transform your home into a cozy autumn sanctuary. Stay tuned, you’re just a pumpkin’s throw away from exploring more DIY fall decor ideas.
Key Takeaways
- Fall-themed DIY home decor projects include autumn leaf garlands, homemade scented candles, rustic wreaths, and knitted blankets.
- Essential supplies are a hot glue gun, autumn-colored paints, faux leaves, acorns, mini pumpkins, pinecones, and twine.
- Pumpkin centerpieces and fall-themed picture frames can be personalized with paint, carving tools, and arranging fall flowers.
- Autumn-inspired wall art and painting projects utilize rich fall hues on canvas to reflect seasonal themes and add warmth.
- Planning, patience, and enjoying the process are vital for successful DIY projects, starting with small tasks to build confidence.
Gathering Your DIY Materials

Before starting on your DIY fall home decor project, it’s essential to gather all of your materials. You know, preparation is key to making any project a success.
Let’s start with the basics. You’ll need a hot glue gun, because what DIY project is complete without one? It’s a staple. Don’t forget to grab plenty of glue sticks. You’re likely to use more than you expect.
Next, you’ll need a selection of autumn-themed items. Think leaves, acorns, mini pumpkins, and pinecones. These add a seasonal touch to your decor.
Head to your local craft store, they’ll have a bounty of fall items. Alternatively, you can also go for a stroll in a park or your backyard to gather natural items.
Then, you’ll need some general crafting supplies: scissors, twine, ribbon, and perhaps some paint. Remember to pick colors that complement the autumnal theme. Consider shades of orange, red, yellow, and brown.
Lastly, gather your creativity! You’re about to transform these ordinary materials into extraordinary fall home decor.
But remember, this is just the beginning. There’s plenty more to explore in DIY fall decor!
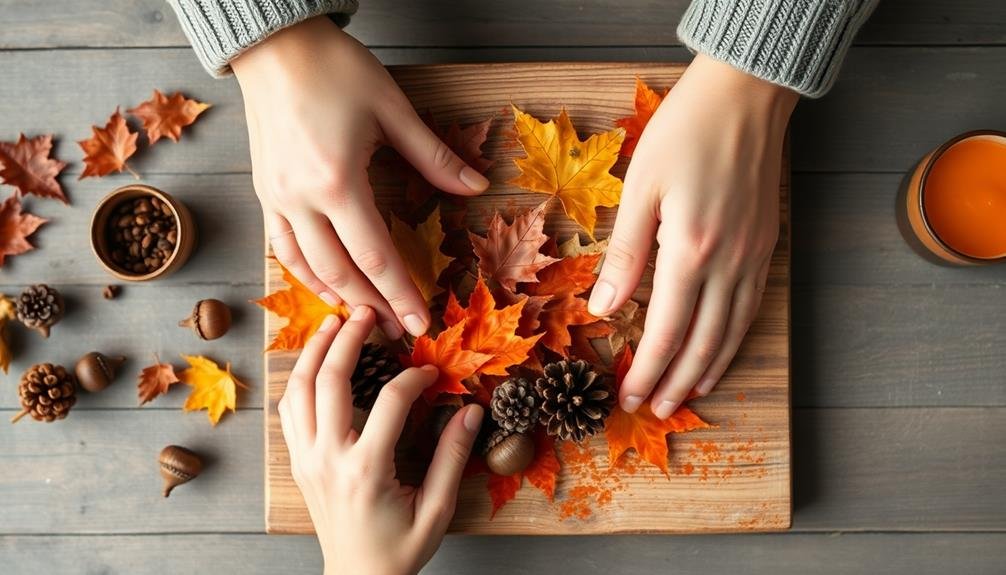
Crafting Autumn Leaf Garlands
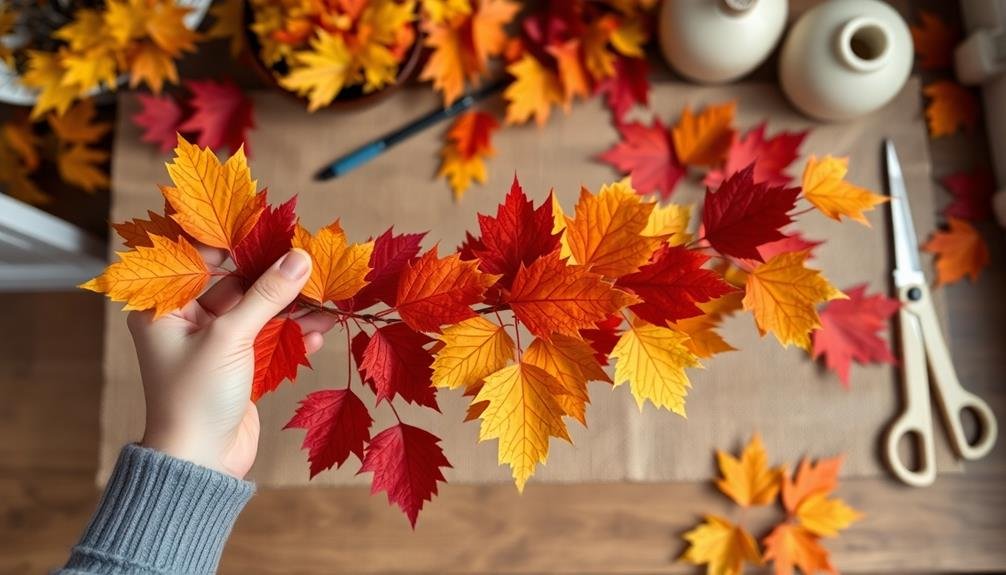
Diving right into our first DIY project, let’s craft an autumn leaf garland. This easy, budget-friendly project will infuse your home with the vibrant colors of fall. You’ll need some faux autumn leaves, a string of twine, and a hot glue gun. Don’t fret if you don’t have faux leaves; you can substitute them with real leaves or even paper cutouts.
Start by arranging the leaves in the order you want them to appear on your garland. It’s your project, so feel free to mix and match colors, sizes, and shapes.
Once you’ve decided on your arrangement, fire up that hot glue gun. Apply a small dab of glue to the tip of the leaf stem, and carefully press it onto the twine. Take your time, and be sure to let each leaf dry before moving on to the next.
Hang your autumn leaf garland across a mantel, door frame, or any space that needs a touch of fall. Remember, it’s all about expressing your creativity and making your home a cozy, autumnal haven.
Enjoy the process, and delight in the beautiful results!
Making Homemade Fall Scented Candles
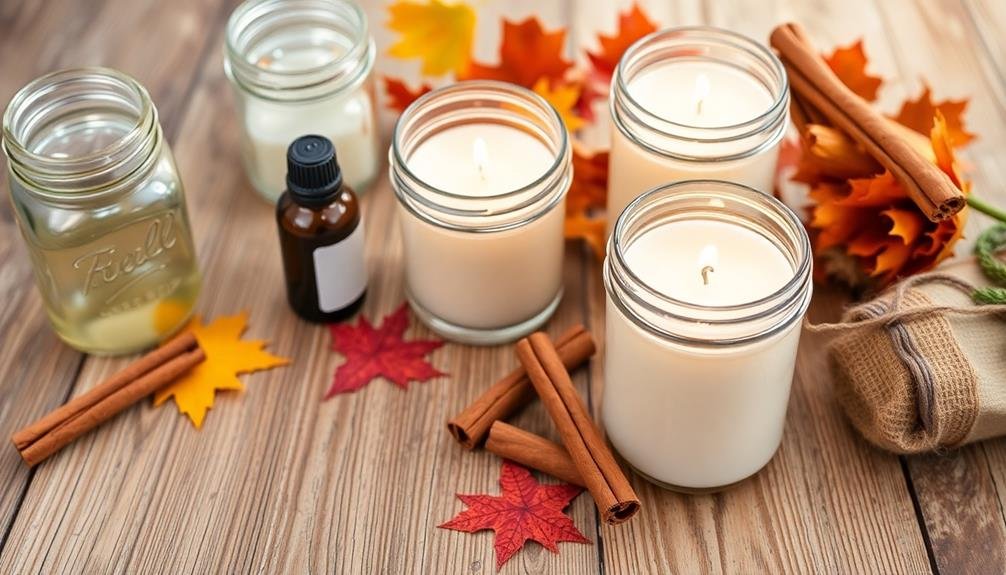
Next, we’ll shift our focus to making homemade fall scented candles. You’ll find it’s quite a simple, yet incredibly rewarding process.
First, gather your materials. You’ll need wax flakes, candle wicks, a suitable container, and, of course, the essential oils that will give your candles that distinct autumn aroma.
Think about the scents that invoke fall for you. It could be a blend of cinnamon, clove, and apple. Or maybe it’s the crisp scent of pine combined with the sweetness of vanilla. It’s your candle, so you’re in control of the scent.
Start by melting your wax flakes. You can do this in a double boiler or even in your microwave. Once it’s melted, add your chosen essential oils. Be generous with the amount, as the scent tends to weaken once the wax has solidified.
Next, place your wick in the container and pour the scented wax in, making sure it’s centered. Let your candle cool and solidify.
And voila! You’ve got a homemade, fall-scented candle. Not only does it make your home smell wonderful, but it’s also a unique, personal decor piece that’s perfect for the autumn season.
DIY Rustic Fall Wreaths

After mastering the art of making homemade fall scented candles, you might want to add another touch of fall to your home. Creating rustic fall wreaths can be a fun and artistic way to bring the warmth and beauty of the season into your home. So, roll up your sleeves and let’s get started!
The materials you’ll need are pretty straightforward. Here’s a handy table to guide you:
| Materials | Purpose |
|---|---|
| Grapevine Wreath | The base of your wreath |
| Fall Leaves (real or faux) | To provide the rustic fall colors |
| Acorns/Pinecones | For additional texture |
| Hot Glue Gun | To secure your decorations |
Start by arranging the leaves, acorns, and pinecones on your grapevine wreath. There’s no right or wrong way to do this – it’s all about what makes you happy. Once you’re satisfied with your arrangement, use the hot glue gun to secure each piece in place. Be careful not to burn your fingers!
Creating a DIY rustic fall wreath isn’t just about crafting; it’s about embracing the spirit of the season. So, enjoy the process and let your creativity shine.
Creating Cozy Knitted Blankets

Brimming with warmth and comfort, a cozy knitted blanket is just what you need for those chilly fall evenings. DIY crafting a blanket isn’t just practical, it’s also a fun, engaging project that you’re sure to enjoy.
Before you start, imagine:
- The soft yarn slipping through your fingers, creating a rhythmic pattern as you knit.
- The rich, autumnal colors of the yarn, from burnt orange to deep burgundy, adding a pop of color to your decor.
- The sense of accomplishment as the blanket grows, stitch by stitch.
- The warmth of the blanket as you drape it over your knees, sipping hot cider on a crisp fall evening.
- The compliments from family and friends, admiring your handmade piece.
You’ll need to choose your yarn carefully, considering the texture, weight, and color. Don’t rush this process.
Once you’ve made your choice, it’s time to start knitting. If you’re a beginner, pick a simple pattern to start with.
Designing Pumpkin Centerpieces
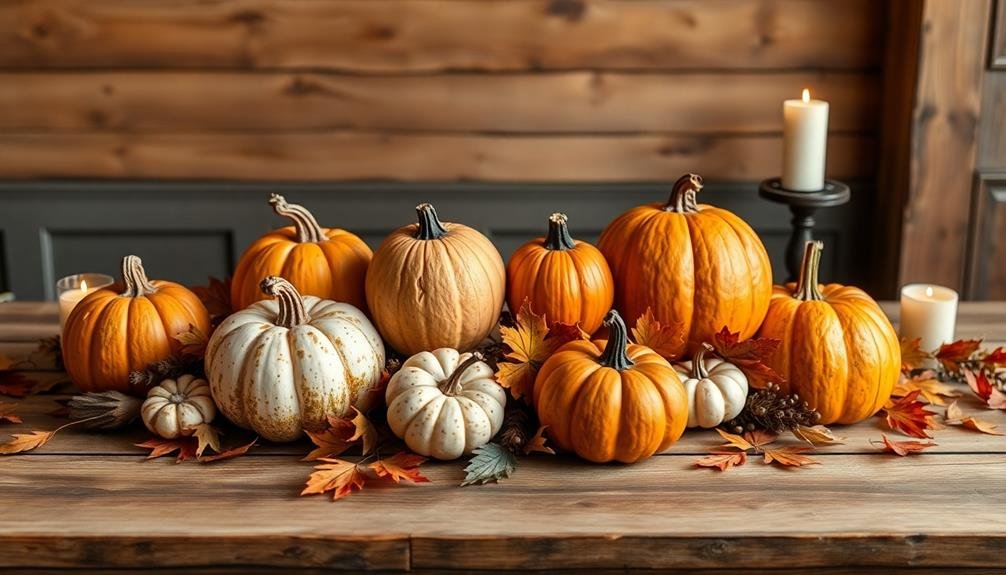
While you’re wrapped up in your homemade blanket, let’s turn our attention to another fall favorite – designing pumpkin centerpieces. They’re an adorable and festive way to add a touch of fall to your home decor. You don’t need to be a skilled artist or a professional decorator to create a beautiful pumpkin centerpiece that’ll wow your guests.
Here’s a simple table to guide you through the process:
| Step | Supplies | Instructions |
|---|---|---|
| 1 | Pumpkin, Carving Tools | Choose an appropriate-sized pumpkin and carve out the top |
| 2 | Paint, Brushes | Paint your pumpkin in any color and design you prefer |
| 3 | Flowers, Foliage | Arrange your favorite fall flowers and foliage inside the pumpkin |
| 4 | Candle | Place a candle inside for a warm, cozy glow |
| 5 | Display | Set your pumpkin centerpiece on your dining table or mantle |
DIY Fall Themed Picture Frames
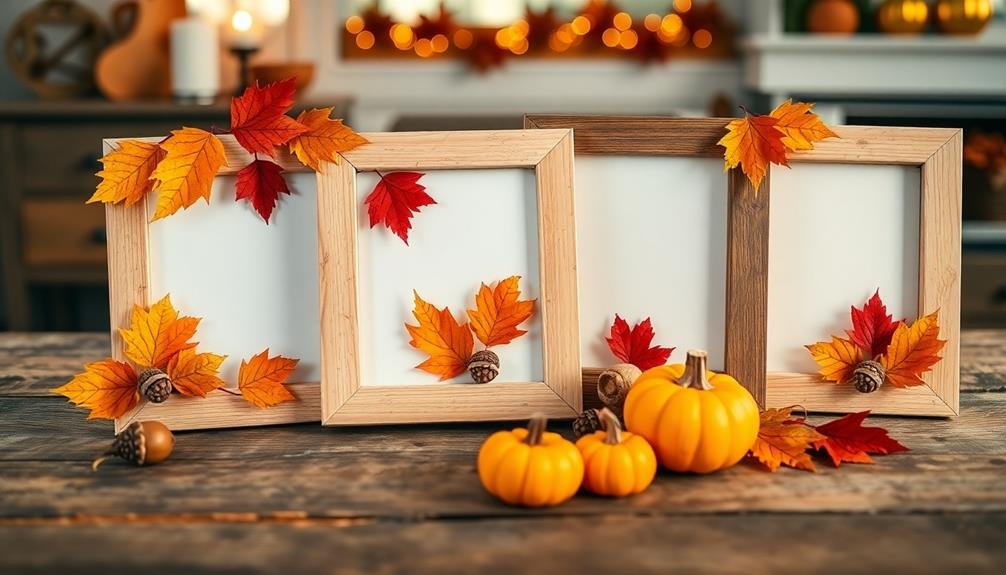
Got a bunch of plain picture frames gathering dust around your house? Don’t discard them just yet. You can use those frames to bring the beauty of fall right into your living room. With a few simple, cost-effective materials, you’ll be crafting your own fall-themed picture frames in no time.
Start by gathering your supplies. You’ll need:
- Your plain picture frames
- Acrylic paints in fall colors like burnt orange, deep red, golden yellow, and rich brown
- Small paintbrushes for detailing
- Faux autumn leaves from your local craft store
- Hot glue gun
Begin by painting your frames with your choice of fall colors. Don’t be afraid to mix and blend them to mimic the changing leaves of autumn.
Once the paint dries, arrange your faux leaves around the frame. Use your hot glue gun to secure them in place.
Voila! You’ve just transformed a plain picture frame into a stunning fall-themed decor piece. Not only have you recycled old frames, but you’ve also created something unique and beautiful that screams fall.
Be ready to receive compliments galore on your DIY prowess.
Crafting Autumn-Inspired Wall Art
If you’re looking to add a touch of autumn to your walls, crafting your own fall-inspired wall art is an excellent way to do so. Imagine a canvas that glows with the rich hues of fall – deep reds, warm oranges, and vibrant yellows.
Start by gathering your materials. You’ll need a blank canvas, acrylic paints in fall colors, and an assortment of brushes. Don’t forget to protect your workspace with old newspapers or a drop cloth.
Next, let your creativity take flight. You can paint an autumn landscape, a festive pumpkin patch, or even a whimsical scarecrow. If you’re not confident in your painting skills, stencils are a great way to guarantee a professional-looking result. You can find fall-themed stencils online or at your local craft store.
Once you’re happy with your creation, let it dry thoroughly before hanging it on your wall. There’s nothing quite like the satisfaction of displaying your own artwork, especially when it enhances the cozy, welcoming vibe of fall.
Tips for Successful Fall DIY Projects
After you’ve hung your new autumn-inspired artwork, you might feel inspired to tackle more DIY projects this fall.
Don’t let your enthusiasm wane; there’s no better time than now to immerse yourself in a world of creativity.
You’re probably wondering, “how can I guarantee my DIY projects are a success?” Here are a few tips:
- Start Small: Don’t bite off more than you can chew. Begin with a small, manageable project and gradually work your way up.
- Plan Ahead: Know your materials, tools, and the steps you’ll need to take before starting.
- Stay Organized: Keep your workspace clean and your materials neatly arranged. It’ll save you time and reduce frustration.
- Be Patient: Good things take time. Don’t rush the process; enjoy it.
- Learn from Mistakes: Not every project will turn out perfect, and that’s okay. Learn from your missteps and move forward.
Bottom Line
Don’t let the thought of DIY home decor intimidate you. With a little creativity and effort, you can transform your home into a cozy fall haven. From crafting leaf garlands to making your own scented candles, the possibilities are endless. Remember, it’s not about perfection, but about creating a space that feels warm and welcoming. So, roll up your sleeves, gather your materials, and let the magic of fall inspire your DIY projects.